
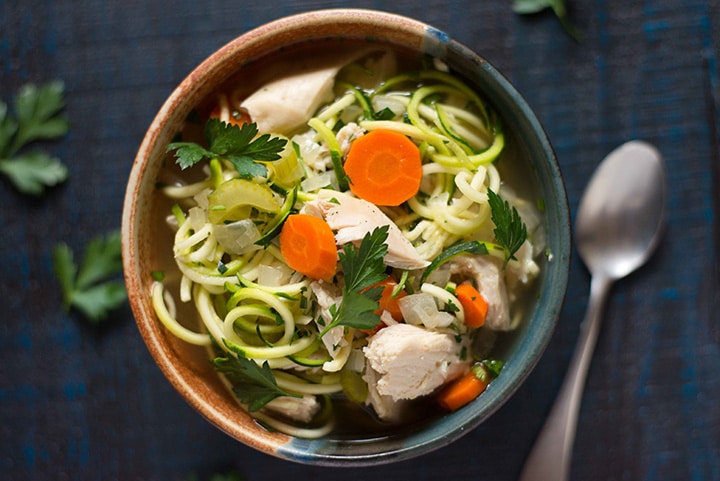
This easy Slow Cooker Chicken Noodle Soup is made with zucchini noodles for a healthier, gluten-free, and low-carb soup recipe.

Chicken Noodle Soup is one of the best comfort foods. The simple flavors of the broth, mixed with the savory chunks of chicken, tender sliced carrots, and celery transforms me back to being a kid. It’s just simple perfection.
Now, when I actually take a second to think about this blissful childhood moment, I realize the chicken noodle soup I used to enjoy was likely canned. That means it was super duper high in sodium and had very little nutrients. And, honestly, wasn’t even that tasty.
Man, being a kid was so easy back then! No calories to worry about. No BPA. No empty carbs from the noodles.
With that realization, I’ve come up with a super yummy way to still enjoy all the deliciousness of a chicken noodle soup recipe with all the goodness a healthy adult appreciates. This easy Slow Cooker Chicken Noodle Soup is made with zucchini noodles for a healthier, gluten-free, and low-carb soup recipe. And making chicken noodle soup in a slow cooker is so darn easy.
Hooray!
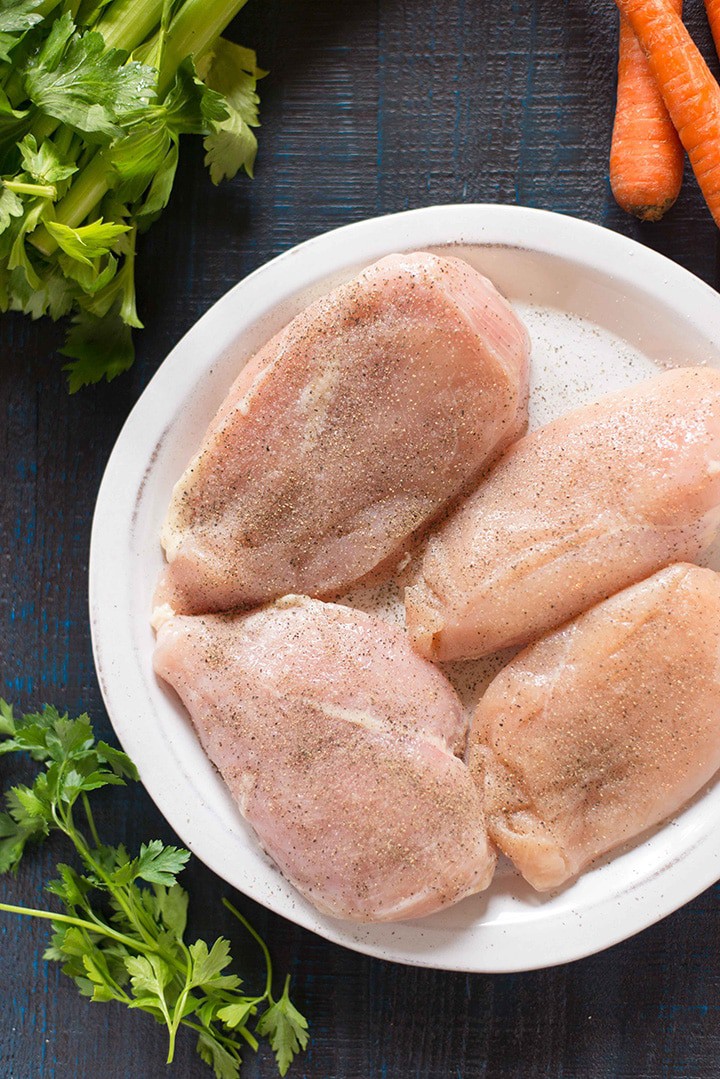
Learning how to make crockpot chicken noodle soup is like the easiest thing ever. It’s definitely easier than learning how to make chicken noodle soup without a slow cooker!
You just place the ingredients in the slow cooker, season, and forget about everything for a few hours.
It’s that simple, yes. If you feel the need for more guidance, here are the detailed how to make chicken noodle soup in a slow cooker steps:
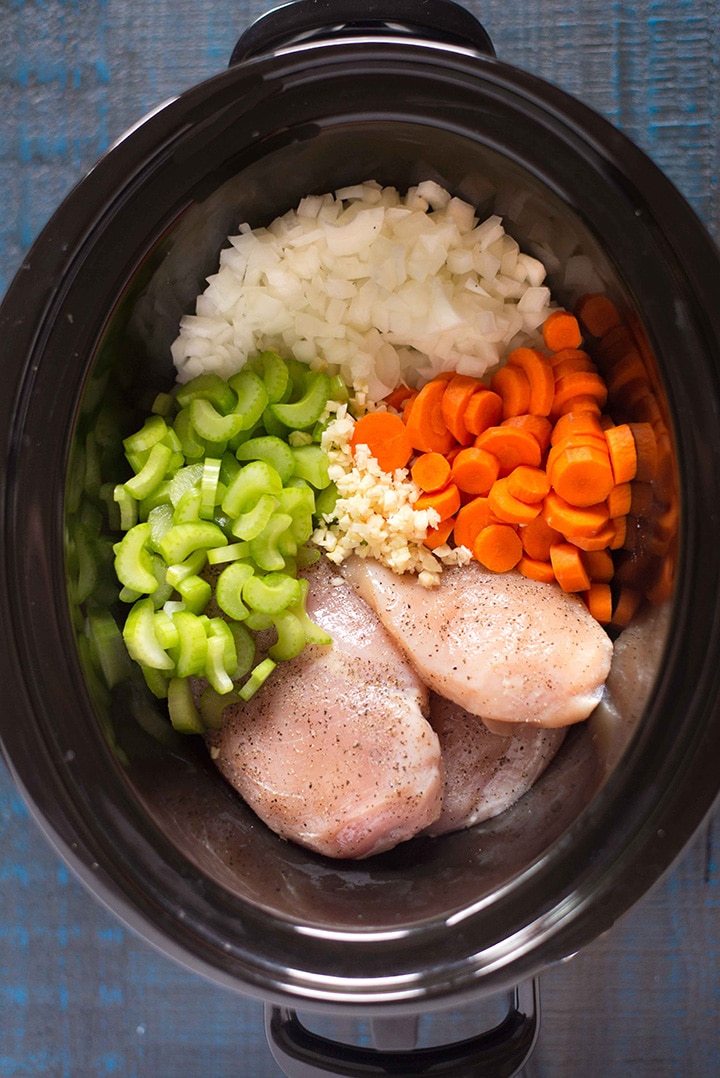
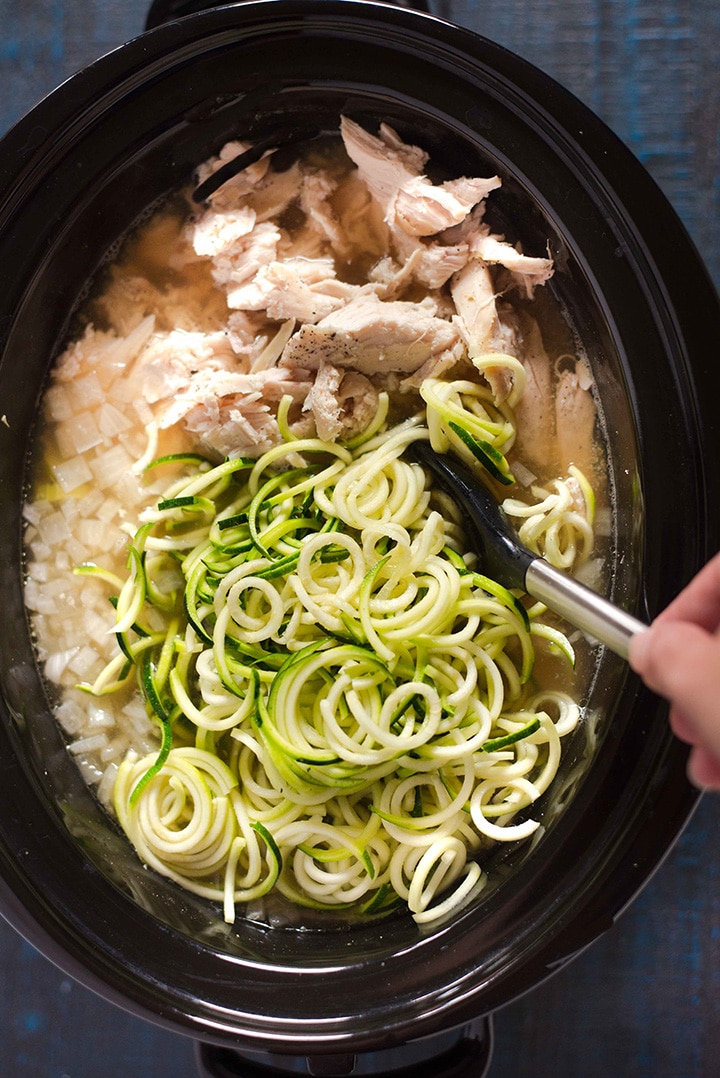
start by seasoning the chicken with sea salt and pepper; place the chicken in the slow cooker followed by veggies; stir to combine; cook on low heat for 6-8 hours or on high heat for 4-5 hours; shred the chicken; add noodles and spices; cook for additional 8-10 minutes on low heat. garnish with parsley and add lemon juice for extra taste and goodness.You are now ready to enjoy all the goodness and amazing flavors of your homemade slow cooker chicken noodle soup.
Can you still make chicken noodle soup in a slow cooker if you don’t have a chicken carcass?
YES!
How to make chicken noodle soup in a slow cooker without a carcass:
This recipe is actually perfect if you don’t have a chicken carcass. Instead, you can use the boneless, skinless chicken breasts and low sodium chicken broth. Cooking the chicken breasts and veggies in the chicken broth over the long timeframe in the slow cooker will make for a tasty broth and tender chicken.
How to make chicken noodle soup in the slow cooker with a carcass:
If you do have a chicken carcass and want to use it in this recipe, you can easily toss it in along with the rest of the ingredients to cook in the slow cooker. Once it’s time to shred the chicken, you can remove any remaining meat from the carcass and then discard. Easy peasy.
Many people eat chicken noodle soup when they are sick or during winter months when it’s very cold outside. What makes chicken noodle soup so good for you?
Firstly, the taste and the fact that it’s comforting, warm, and all you want when you have the flu or when it’s cold outside. Secondly, chicken noodle soup contains ingredients that are high in antioxidants such as carrots, onions, and celery. These veggies boost your immune system and help you to stay healthy or to fight the flu if you are sick.Chicken noodle soup is amazing like that. And if you make it healthy by using zucchini noodles instead of regular noodles you get even more benefits because zucchini has plenty of health benefits too.
I really love this homemade chicken noodle soup because I can not only make it healthy but I can also make it taste the way I like it. You can’t do that with canned soup. The veggies in chicken noodle soup and the spices make all the difference in taste but in nutritional benefits too.
What veggies I put in slow cooker chicken noodle soup:
garlic yellow onion carrots celery zucchini noodlesWhat about the spices? What spices do you put in chicken noodle soup? I like to add:
thyme rosemary Italian parsleyWhile you don’t have to use spiralized zucchini noodles in this chicken noodle soup, they sure do make a great option. Zucchini noodles are lower in carbs and calories plus pack more protein and fiber than most any pasta noodle. When recipes call for 8 oz. pasta noodles, I replace with 2 cups spiralized zucchini noodles, which tends to be about 2 zucchinis.
Just like with pasta, you don’t want to cook the zucchini noodles the same amount of time as the rest of the soup. Instead, add them in when there are just about 15-20 minutes left of cooking so that they don’t get overcooked. To learn more about how to spiralize zucchini noodles, check out this Spiralizer post.
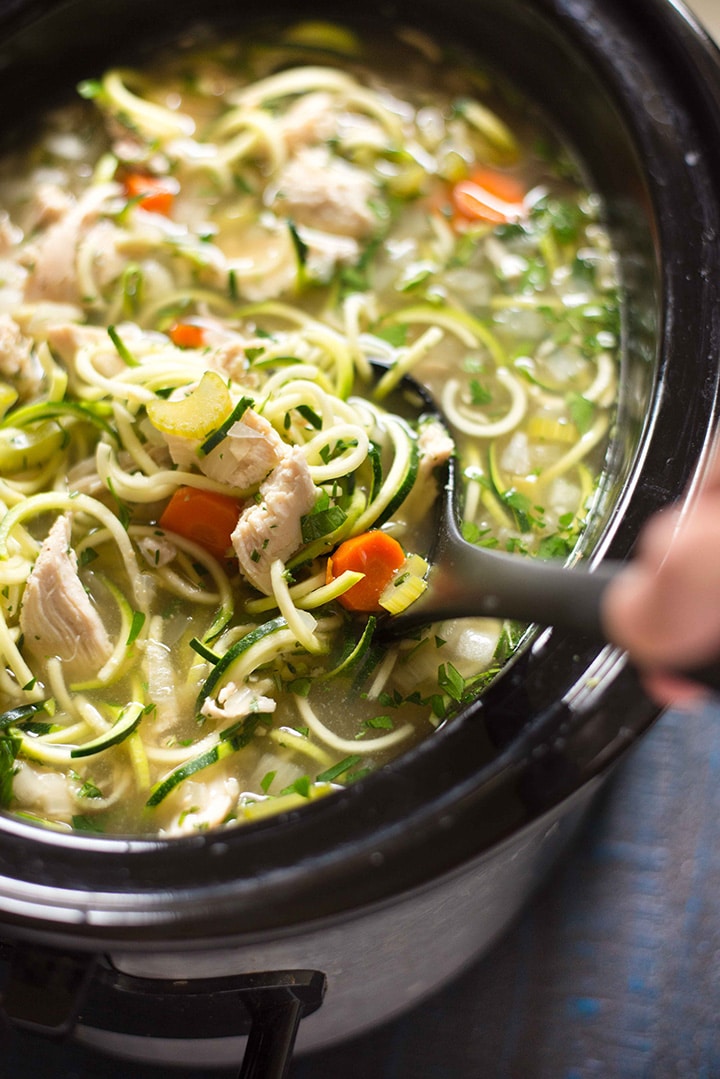
Chicken noodle soup makes a delicious and light meal on its own. You can enjoy it for lunch or dinner and you’ll get all warm and fuzzy inside. But sometimes that’s not quite enough.
If you want a complete meal, here’s what to serve with chicken noodle soup:
fresh veggies turned into a simple side salad or veggie sticks (carrot and celery sticks are so yummy) a light side salad made with all kinds of green leaves and a light dressing; a warm veggie side dish like roasted broccoli.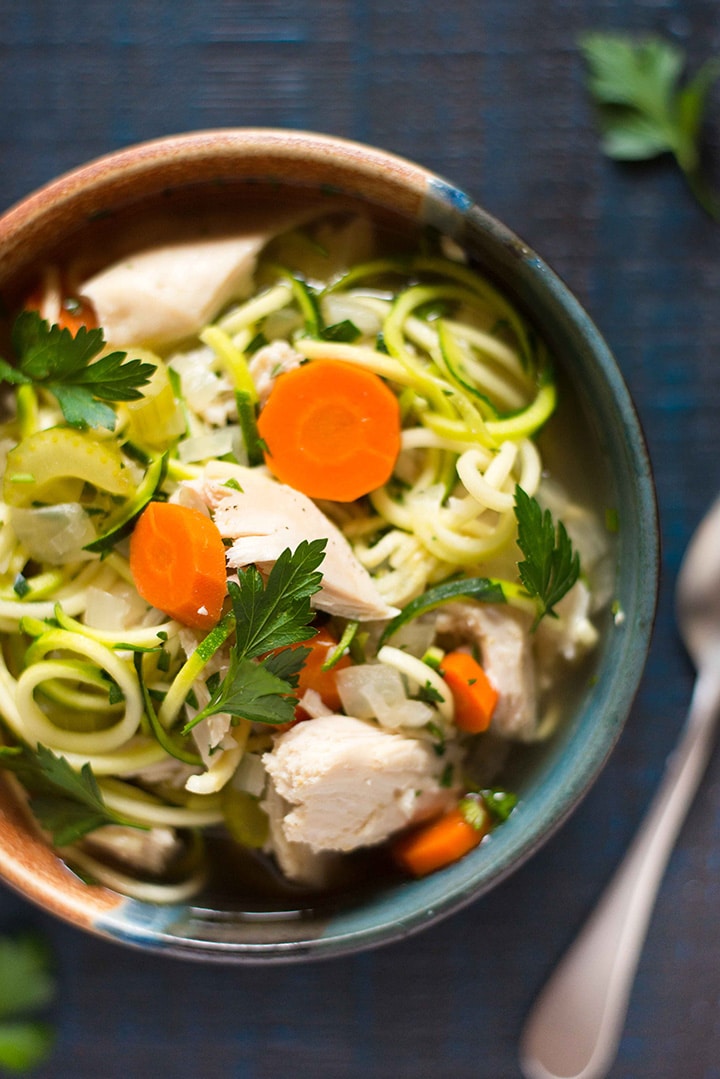 HOW TO FREEZE CHICKEN NOODLE SOUP
This slow cooker chicken noodle soup lasts for 3-4 days in the fridge. And the good news is you can easily freeze leftover slow cooker chicken noodle soup for quick family meals. Here are some tips for how to freeze chicken noodle soup:
allow the soup to cool completely. You may want to transfer to a large bowl and place in the refrigerator to cool. freeze in either gallon – or quart-sized freezer bags or freezer safe containers for easy thawing and storage. leave enough space at the top of the bag to allow for expansion during freezing. Squeeze as much air as possible out of the top of the bag and seal securely. place the soup-filled freezer bags in the freezer, in a single, flat layer (using a rimmed baking sheet is helpful). Allow to freeze completely. Then, stack them on top of each other or standing side by side. thaw bags of frozen soup in the refrigerator overnight when ready to reheat.I recommend not freezing the zucchini noodles along with the soup and, instead, making them fresh when it’s time to reheat. That way, they maintain the best texture.
Tis’ the season to… use the slow cooker as often as possible to make easy and delicious meals. Now that you know slow cooker chicken noodle soup, it’s time to explore other slow cooker recipes that are just as good, comforting, and yummy.
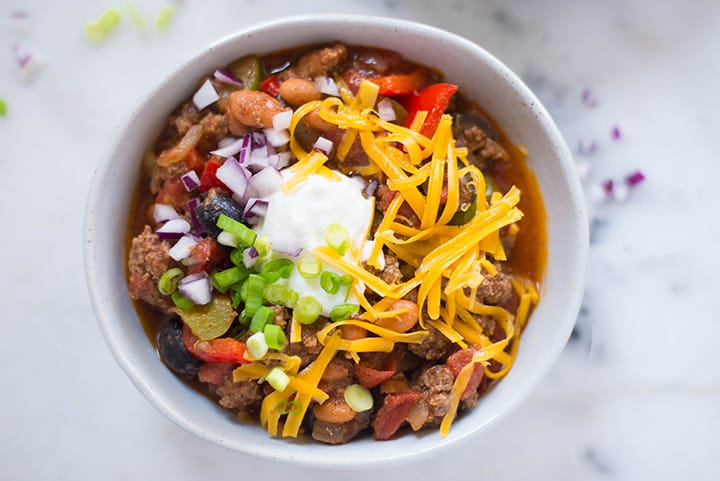
HOW TO MAKE HOMEMADE CHILI (EASY WEEKNIGHT DINNER IDEA!)Learn How To Make Homemade Chili (Easy Weeknight Dinner Idea!) and enjoy a great satisfying weeknight dinner any time you want.
Spicy, hearty chili is the best during this time of the year. Plus, if you follow my recipe, you’ll make a healthy meal that is only 235 calories. Get the recipe.
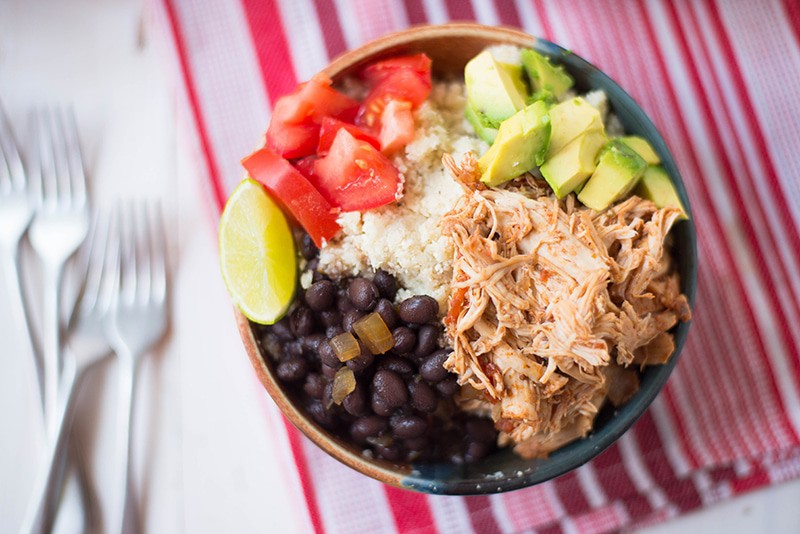
SLOW COOKER CHICKEN BURRITO BOWLSMaking Slow Cooker Chicken Burrito Bowls is a great way to enjoy burritos. Healthy, low-carb burritos.
But not to worry, these burrito bowls are just as tasty and flavorful as the classic burritos. And you get all the amazing textures too. Get the recipe.
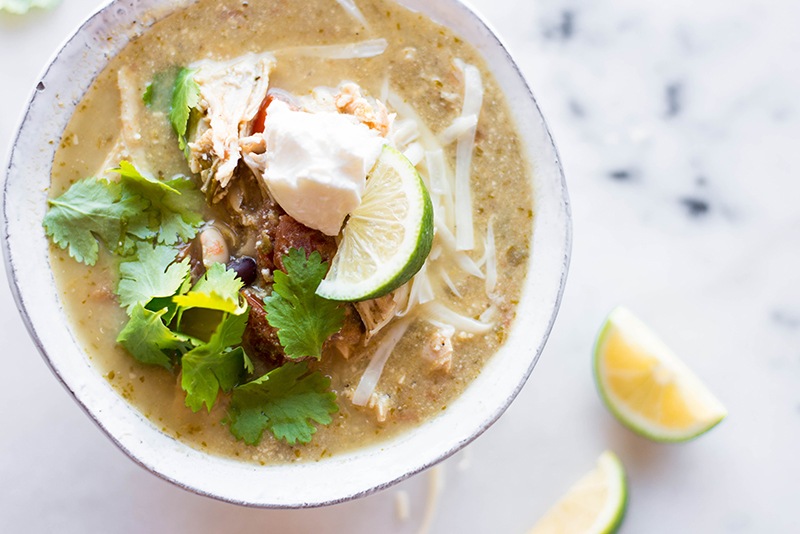
CROCK POT CHICKEN ENCHILADA SOUPAnother comforting classic made healthy is this Crock Pot Chicken Enchilada Soup. It’s guilt-free enchilada, peeps.
This Chicken Enchilada Soup is savory, rich, and flavorful. Not to mention it’s very easy to prep and a totally tasty option for your enchilada cravings. Get the recipe.

This easy Slow Cooker Chicken Noodle Soup is made with zucchini noodles for a healthier, gluten-free, and low-carb soup recipe.
Add the garlic, onion, carrots, celery, and chicken stock, and stir to combine.
Add the bay leaf, and then cover and cook on low heat for 6-8 hours or on high heat for 4-5 hours, or until the chicken is cooked through and the vegetables are tender..
Remove the cooked chicken from the slow cooker and shred, using two forks.Add the spiralized zucchini noodles, thyme, and rosemary, and stir to incorporate.
Cover the slow cooker, and cook on low heat for an additional 8-10 minutes, or until the zucchini is mostly tender.
Add the lemon juice and parsley, and stir together.This post contains affiliate links for products I use regularly and highly recommend.
The post Slow Cooker Chicken Noodle Soup (A Healthy Meal Option!) appeared first on A Sweet Pea Chef.
These homemade peanut butter cups are truly perfect! This recipe shows you how to temper chocolate to get a glossy sheen, and make a mouthwatering peanut butter filling.

This year, I requested that we make homemade peanut butter cups as a Christmas treat for our holiday parties and cookie plates. Turns out, making the perfect homemade peanut butter cups is quite the challenge! A few of our most trusted sources had recipes that didn’t work out so well. So, Alex and I set about to solve the homemade peanut butter cups challenge! These cups had to have just the right amount of peanut butter filling, just the right thickness of chocolate, and not melt at room temperature. And after lots of research, we found part of the answer is in tempering the chocolate. How to temper chocolate? And what does that even mean? What else makes perfect peanut butter cups?Keep reading for why we think this recipe makes the perfect homemade peanut butter cups. Even better than Reese’s and Justin’s.

There are lots of homemade peanut butter cup recipes on the internet. But testing them found a different story. Making several of these recipes resulted in too bitter or thick of chocolate, peanut butter that spilled out the sides, and lumpy and dull chocolate. For some reason, we just couldn’t get them right. Then, we decided to try the recipe tempering the chocolate. And it worked beautifully, making the perfect glossy chocolate that had a perfect crunch at room temperature. Keep reading for how to temper chocolate.
How to make peanut butter cups? Basically, take tempered chocolate and let it harden around a peanut butter filling in a mini muffin tin. For our filling, we added maple syrup to peanut butter and a tiny bit of powdered sugar. Then to bring in a complexity, we added some allspice and vanilla extract. To add the filling to the homemade peanut butter cups, we roll the peanut butter into balls and then flatten them into discs. This helps for easy placement into the cups.
After he tasted these, Alex exclaimed: “It’s better than Reese’s, and even Justin’s peanut butter cups!” Want to see if you agree?


Ok, what the heck is tempering chocolate? Tempering chocolate is a way to melt chocolate that makes it smooth and glossy when it dries. It makes a crisp snap when you bite into it, and stays hard at room temperature. Also, have you ever noticed that a white, waxy texture forms on the surface of some chocolate over time? That’s the cocoa fat separating out. Tempering chocolate avoids all that!
So how to temper chocolate? It’s a precise process BUT, it is so, so so worth it. It will make your homemade peanut butter cups…perfect. Equipment you’ll need for tempering your chocolate is a digital thermometer. (If you don’t want to use a thermometer, this is a good resource.) The basic concept is that you melt 2/3 of your chocolate, then stir in 1/3 of the unmelted chocolate, which brings down the temperature. Then you reheat the entire mixture until it’s glossy and perfectly melted. The instructions in the recipe below explain the exact temperatures to use. It might feel like overkill, but it was this that helped us to truly perfect our homemade peanut butter cups recipe.
What if the tempering doesn’t work? No problem. If you find the chocolate is soft and melty at room temperature even after tempering, just store these peanut butter cups in the refrigerator!

The resulting homemade peanut butter cups are so, so good! They’ve got a satisfying crunch, just the right amount of lightly sweet peanut butter filling, and a few flakes of sea salt on top for a salty flair. WOWZA! We will be making these for years to come. Let us know if you try them in the comments below: and if you think they’re perfect too!
Looking for more dessert recipes?Outside of these homemade peanut butter cups, we have dozens of delicious dessert recipes on A Couple Cooks (including Christmas cookies, if it’s the season!):
All Christmas Dessert Ideas!Chocolate Tahini Vegan No Bake CookiesBliss BitesChocolate Sweet Cherry Vegan TartsEasy Bananas FosterChocolate Banana BreadPecan Butter Millionaire Bars This recipe is…
This homemade peanut butter cups recipe is vegetarian and gluten free.
*For vegan, you can try substituting vegan chocolate at your own risk — but we cannot speak to how to temper vegan chocolate!
Print
These homemade peanut butter cups are truly perfect! This recipe shows you how to temper chocolate to get a glossy sheen, and make a mouthwatering peanut butter filling.
Make the peanut butter filling:
In a small bowl, stir together the peanut butter, maple syrup, powdered sugar, allspice, and vanilla until fully combined into a sticky mixture. Line a baking sheet with parchment paper. Divide the mixture into 18 even pieces, about 1 scant teaspoon each, onto the parchment paper. Then roll each peanut butter piece in your hands into a ball and flatten the top so it forms a disc. Make them as even as you can (see the photo). Test the size in a mini muffin cup to make sure that the peanut butter disc is just narrower than the size of the circle at the bottom, so that the chocolate will fully cover it. Set aside the peanut butter.Line a mini muffin tin with 18 mini muffin wrappers.
Temper the chocolate (works well with 2 people! It sounds complicated but only takes about 5 to 10 minutes):
Break the chocolate bars into small pieces. Start a small saucepan of barely simmering water. In a heat-proof bowl that is completely dry that will fit over the pan of simmering water, add about 2/3 of the chocolate pieces (we used a small metal bowl). Make sure not to get any water into the chocolate, since it will cause the chocolate to seize up! (There are fixes for siezed chocolate but it’s not pretty.) You’ll hold the bowl with the chocolate above the other saucepan with boiling water to create a double boiler (or you can use a double boiler if you have one!). Place a towel on counter next to the stove so that you can transfer the bowl to the counter as necessary and avoid any water getting into the bowl. Hold the bowl of chocolate over the simmering water. Allow the chocolate to melt a bit, then gently stir with a spatula until the chocolate fully melts and warms to 115°F. Use a quick-read digital thermometer to check the temperature often; the chocolate will heat quickly at the end. Once the chocolate is at 115°F, immediately remove it from the burner onto the towel. Add the remaining 1/3 of the unmelted chocolate (called seed chocolate) and stir constantly until it melts and the chocolate temperature falls to 84°F. Be very precise about the temperature, checking with the candy thermometer every so often. Here’s the important part: When the chocolate is 84°F, return the bowl of chocolate to above the pan of simmering water, and bring it back to 90-91°F. Keep checking with the quick-read digital thermometer until it is 91°F, then remove from the heat immediately.**Place the tempered chocolate into the mini muffin tin:
Working as quickly as possible, place about a heaping 1/4 teaspoon in the bottom of each mini muffin cup. Use the measuring spoon to spread the chocolate into a thin circle on the bottom. Bang the pan onto the counter a few times so that the chocolate evenly spreads. Continuing to work quickly, place the peanut butter discs into the centers of the chocolate, being as exact as possible. Then, pour about 1 teaspoon of chocolate onto the tops of all 18 cups so that the chocolate fills in around it to make a chocolate cup. If the chocolate looks like it’s starting to firm up, you can return it to above the hot water and stir for just a minute to heat it back up. Keep working to evenly divide the remaining chocolate between the cups. Then bang the pan several times against the counter so that the chocolate spreads evenly and the tops are level.Refrigerate for 5 minutes. Remove the tray and sprinkle the top of each cup with a tiny bit of sea salt. Continue to refrigerate for about 15 to 25 minutes until the chocolate is hardened. Store refrigerated.
*We’ve customized these tempering instructions for semisweet chocolate: the timing may be different for other types of chocolate. If you want to use vegan chocolate, do so at your own risk: we cannot speak to how to temper vegan chocolate!
*DO NOT GO OVER 93°F or the chocolate will have to be fully re-tempered. To retemper the chocolate, you’d have to heat back up to 115°F and add extra seed chocolate, following the same instructions. So, try to be very precise about the temperature to ensure the most consistent chocolate!
Keywords: Homemade peanut butter cups, How to temper chocolate, How to make peanut butter cups, Chocolate, Peanut Butter, Dessert
A Couple Cooks - Healthy, Whole Food, Vegetarian Recipes
These gingerbread pancakes are full of cozy spices and molasses: and since they’re oatmeal pancakes, they’ve got a healthy spin!

This year, my sister is coming home for the holidays. She lives in Thailand, so it’s a big deal when she visits! When we started brainstorming some fun, cozy things to do while she’s here, I immediately shouted, “Gingerbread pancakes!” Why this was my response, I’m not sure. Because this has never been a family tradition! But for some reason in that moment, gingerbread pancakes were the perfect representation of all that is cozy. I could just picture it: our house in the snow, and my sister and I in our PJs eating gingerbread pancakes. So, Alex and I developed a version of our oatmeal pancakes to turn them into gingerbread pancakes–and they truly are everything that’s cozy. Keep reading for the gingerbread pancakes recipe!

So, what are oatmeal pancakes? Alex and I are rather particular about our pancakes. Because we find that the standard pancake recipe is full of white flour and sugar, which leaves us hungry literally 1 hour later. Honestly, I feel hungrier in the morning when I eat a white flour pancake than if I ate nothing at all for breakfast! So to combat this, Alex and I started adding lots of oats in the form of oat flour to our pancakes to make them oatmeal pancakes. The result is a bit denser of a pancake, but it’s full of nutrients and leaves our stomachs satisfied.
The oatmeal pancakes recipe calls for 1/2 cup flour, but you can use gluten free flour to make them fully gluten free pancakes. Because the oats are very dense, we’ve also added a bit of cornstarch to our oatmeal pancakes to help keep them lighter and fluffier.
How to make oat flour at home? If you can find it you can buy oat flour, but since we have a food processor we find it easier to make our own oat flour! Simply place the oats into a food processor and blend until it becomes the consistency of flour. The quantities are 1 to 1: so 1 cup oats equals 1 cup oat flour. It’s easy as that!
I made these pancakes with our toddler Larson, and he LOVED it! He’s only 21 months, and he could help to dump in the ingredients.

So, once you’ve got the hang of oatmeal pancakes, you’re ready for gingerbread pancakes! To make for the gingerbread flavor, we’ve pulled in gingerbread spice ingredients. For our gingerbread spice ingredients, we’ve used cinnamon, ginger, and allspice (though there are many variations in different gingerbread recipes). And for a bit of that authentic gingerbread flavor, we’ve also used molasses! The dark depth of the molasses is what makes these gingerbread pancakes really shine.
Now, a tip: without toppings, these gingerbread pancakes taste only lightly sweet and the spices don’t come through as well. Top them with a bit of real maple syrup, though, and they suddenly taste like gingerbread dough! So make sure to use just a drizzle of maple syrup to really get the flavor out of these gingerbread pancakes. These are a perfect holiday breakfast, and easy to make into gluten free pancakes as need be.

Outside of these gingerbread pancakes, we have dozens of vegan breakfast ideas and healthy breakfast recipes on our website. Here are a few of our favorites:
Apple Cinnamon Pressure Cooker Steel Cut OatsCinnamon Pecan Homemade Breakfast CerealTurmeric Vegan Blueberry MuffinsDIY Instant OatmealThis recipe is…This gingerbread pancakes recipe is vegetarian. To make gluten free, use gluten free flour.


These gingerbread pancakes are full of cozy spices and molasses: and since they’re oatmeal pancakes, they’ve got a healthy spin!
To make the oat flour: place the oats in a food processor and processing until finely ground.
In a medium bowl, combine the oat flour, whole wheat flour, cornstarch, baking powder, ginger, cinnamon, allspice, and kosher salt.
In another medium bowl, whisk together the eggs, then whisk in the maple syrup, molasses, milk and vegetable oil. Pour in the dry ingredients and mix until a batter forms. Allow the batter to sit for 3 minutes, which will allow it to thicken.
Lightly grease a skillet with butter and wipe off any extra grease with a paper towel. Heat the skillet to medium heat. To cook the pancakes:
The batter for oatmeal pancakes is a little different from standard pancakes, in that it thickens quite a bit as it sits. Before you start, make sure the batter is at a pourable consistency and not too thick: if so, add a splash of milk. (We added a small splash before cooking each batch.)Pour the batter into small circles and fry the pancakes until the bubbles pop on the top. Then flip and heat until cooked through and lightly browned. For each subsequent batch, add a splash of milk before pouring onto the griddle until the consistency is pourable and not too thick (the oats continue to soak up moisture, so this is the most reliable method for oatmeal pancakes).Serve immediately with a drizzle of pure maple syrup. The pancakes will taste lightly sweet without syrup, but adding syrup really brings out the gingerbread flavor!
Keywords: Gingerbread Pancakes, Oatmeal Pancakes, Christmas Pancakes, Healthy Pancakes, Gluten Free Pancakes, Gingerbread Spice Ingredients
A Couple Cooks - Healthy, Whole Food, Vegetarian Recipes
from Merah Hati Cintaku https://ift.tt/2B5bcUH
via merahhaticintaku.blogspot.my
 (1 votes, average: 5.00 out of 1)
No comments:
Post a Comment